This page contains affiliate links. This means that we may get a small commission for recommending products, if you choose to click on something and buy it. This does not cost you anything, but we wanted to be honest and let you know!
(Last Updated On: )Electric bicycles are capable of making the commute around cities and urban areas much more comfortable. One challenge though, is to grab budget-friendly ones.
High-quality electric bikes are sold at a prime cost that can offer high performance and high quality in a sleek package. Top-end electric bicycle price ranges from $3,000- $5,000– that exceptional quality does not come cheap.
Electric bicycle conversion kits allow a cyclist to convert a standard pedal bike into an electric bicycle with the same performance as branded electric bicycles, but at a fraction of the price.
The bright side of a DIY ebike is that you can start with a bike you already own, which will almost always be a much higher standard than the bikes commonly used in building budget-friendly electric bicycles.
Many e-cyclists have tried to build ebike using old bicycles, and not all are successful. This DIY ebike guide/video review will definitely make things much easier and affordable for you.
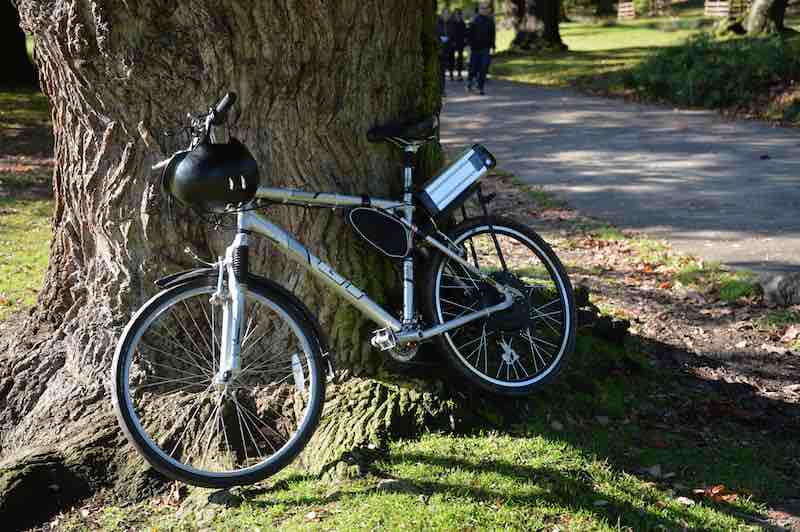
AUGUSTINE E BIKES DIY 2020 produced a video on how to build an inexpensive ebike that has 1500 watts assembly and TFT 750 LCD programing.
Table of Contents
Gather the materials
- Bicycle – Either old or new, it’s more important to choose one that is comfortable to use even if you ride it for many miles.
- Rear hub brushless motor – fits standard 135mm drop out
- Controller
- Two (2) strong zip ties
- Battery – Ensure that the voltage of the battery matches your motor. The voltage is your bike’s power, once you’ve determined how far you want to go. Remember the higher number of amperes (AMP) the farther you will go (the more expensive batteries).
- TFT 750 LCD
- Lock nut
DIY Electric Bike Assembling
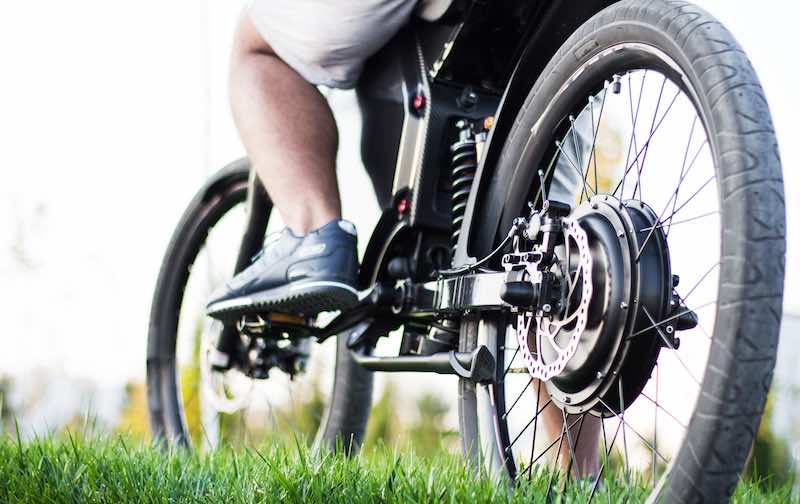
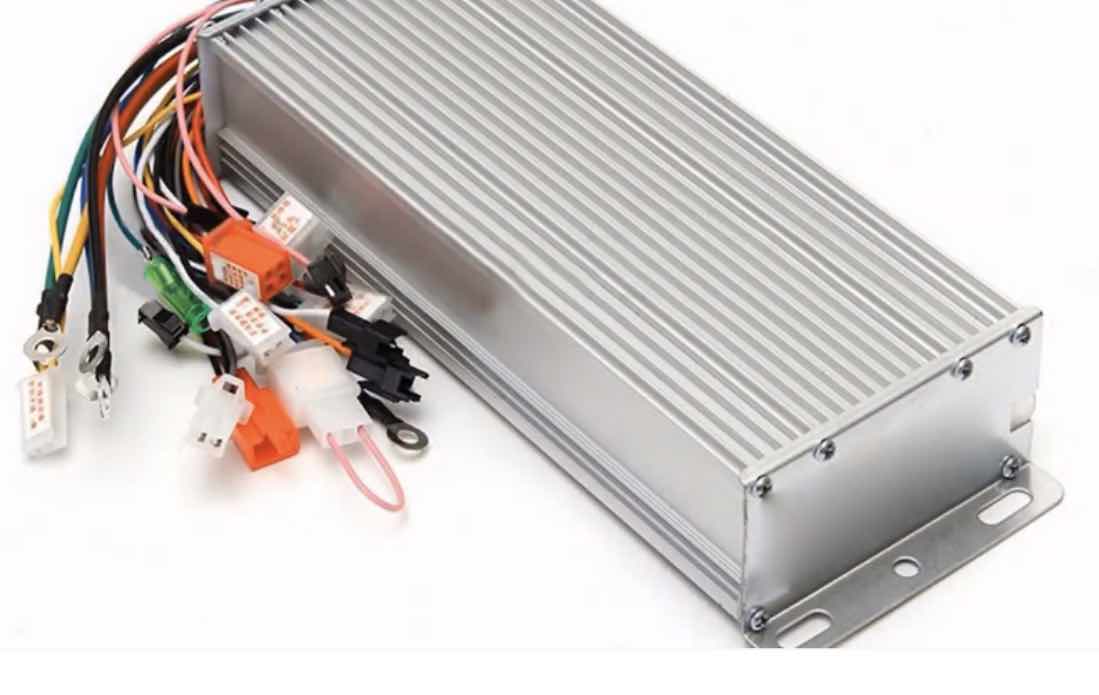
#1. To install the rear hub motor, place your bicycle upside down on the ground and remove your rear wheel.
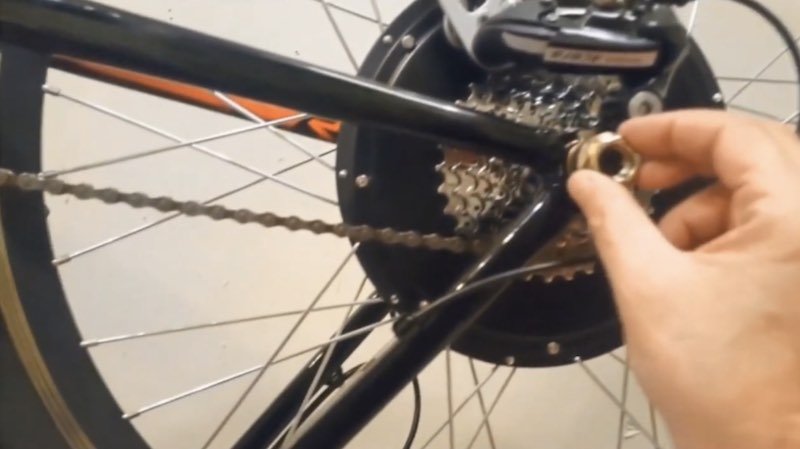
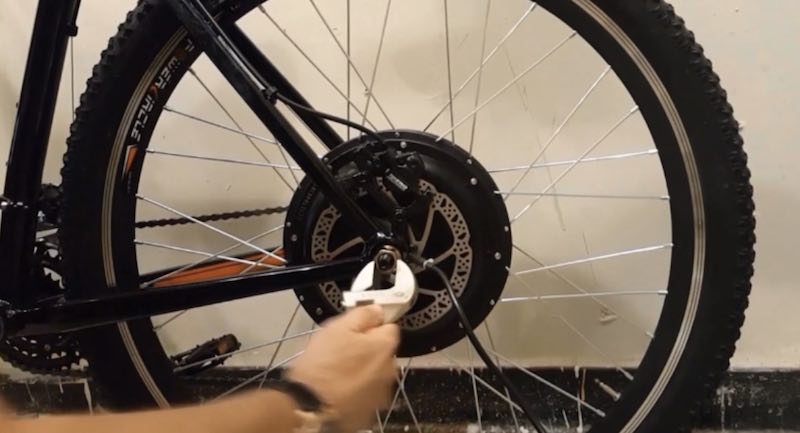
#2. Once the motor is installed properly, place the wheel back with the washers in the right order. To check if the motor was installed properly, spin the wheel to see if it is working smoothly.
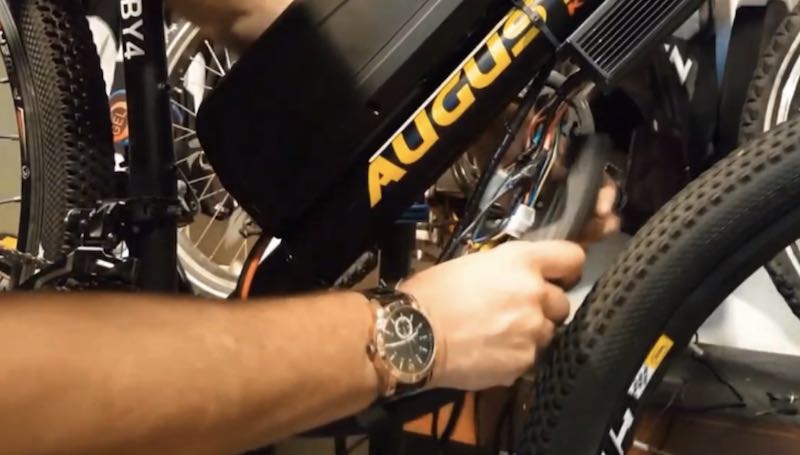
#3. Find a good spot on your bike where you can attach the controller. The wires should be pointing in the direction of the bottom of the bike.
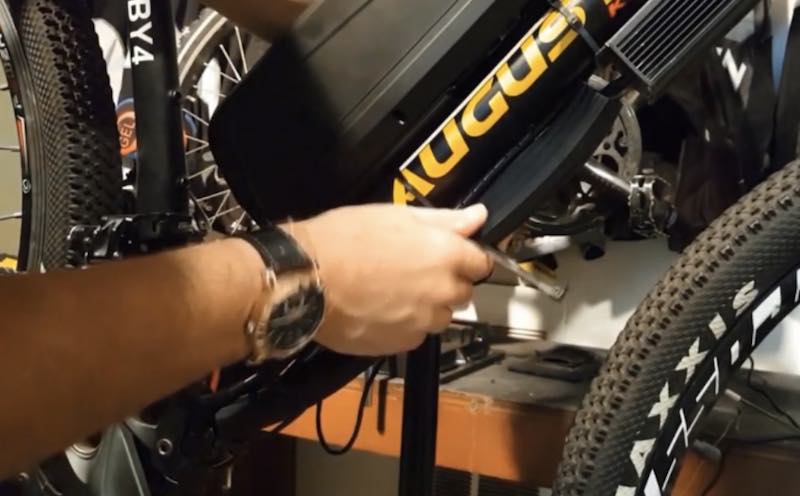
#4. Secure the controller to the frame of your bike by using two strong zip ties.
#5. Make the appropriate connection with your motor
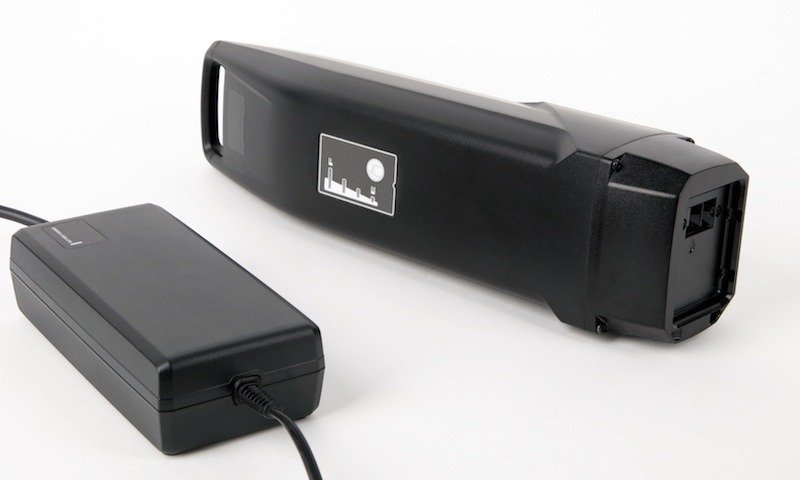
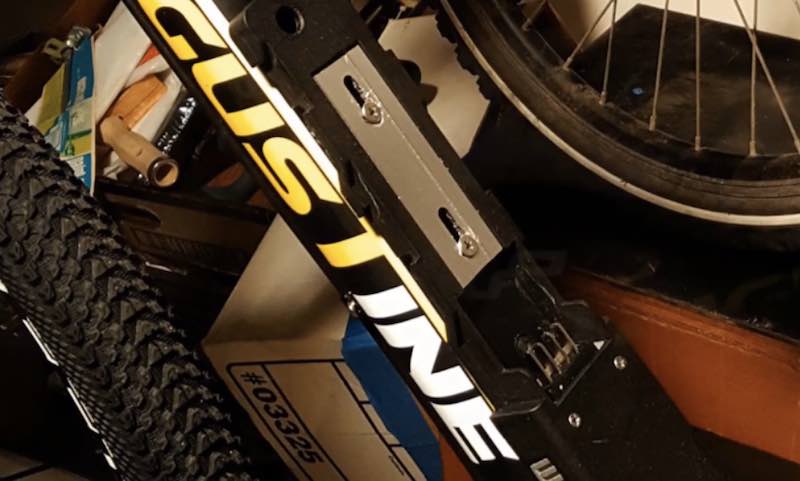
#6. Connect the battery to the bike frame using the water bottle screws.
#7. Connect the red and black wires to the controller. This may be the trickiest part of your bike’s conversion since they might not have matching connectors if they were bought from two different vendors.
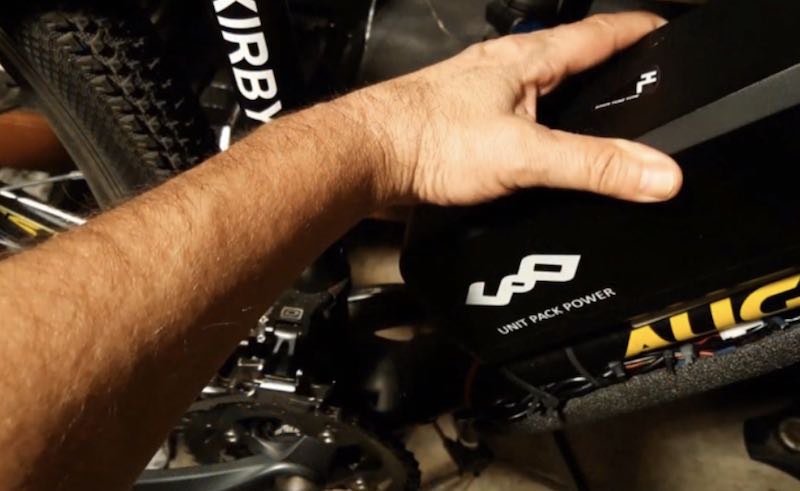
#8. Turn on the battery and make sure that everything works.
#9. If all is working well, cover up the controller wires. Ensure that all of the wires are out of the way either zip-tied or velcroed whichever is more convenient and effective for you to use. Wires must not catch on the pedals or other obstacles
TFT 750 LCD
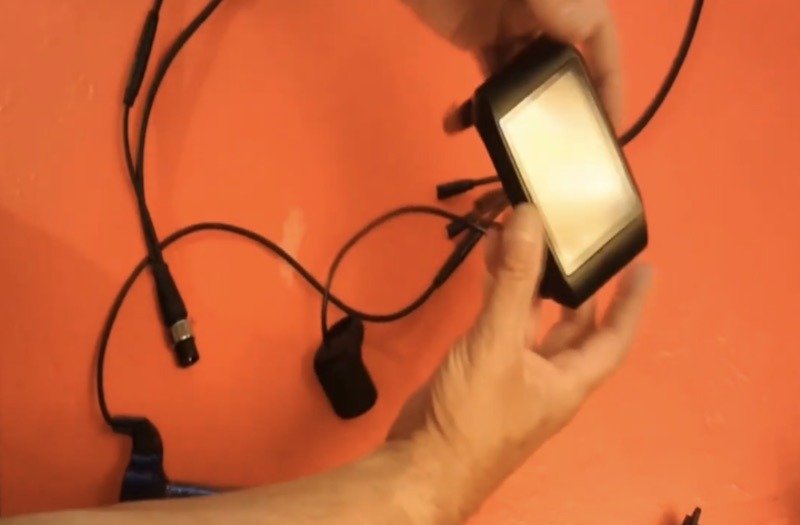
The LCD is all connected with one wire that reaches the throttle, LCD, battery, and the rear hub where the controller is.
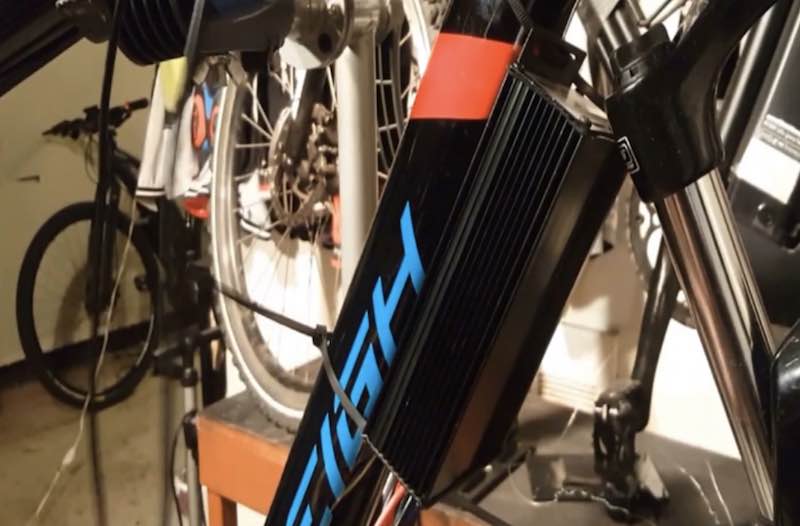
The TFT 750 is connected to the battery with one wire, you can use any adapter that you may need for the battery board.
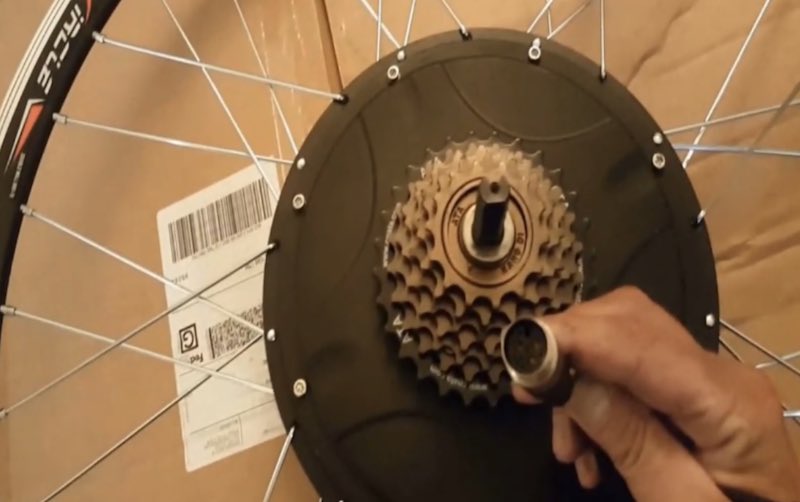
With one plug, you may connect the LCD to the motor which is built into the wheel that comes with a seven speed freewheel.
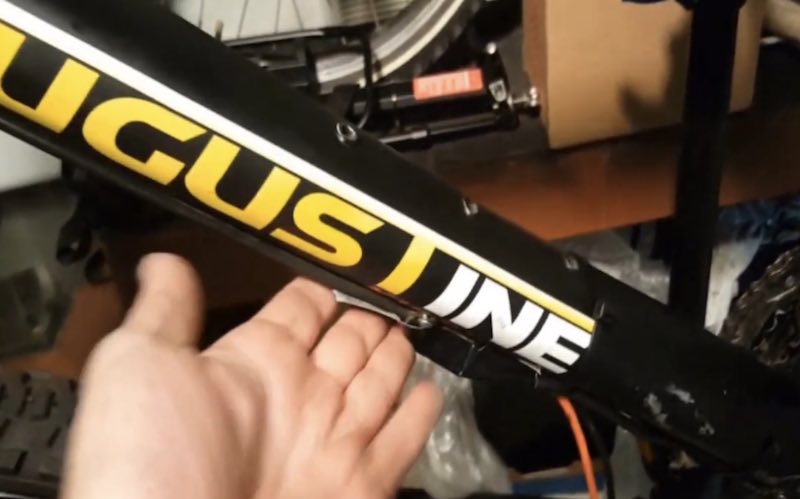
The TFT 750 will only run one wire underneath the bottom tube.
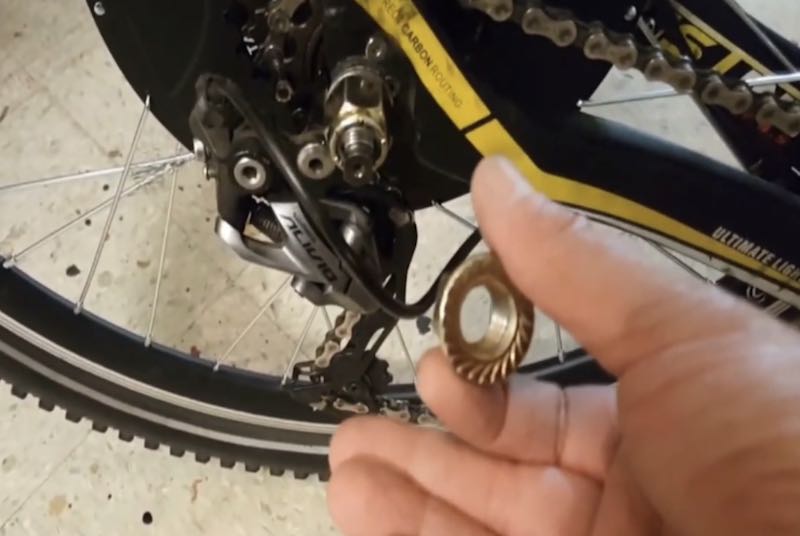
A lock nut is an important addition on the rear wheel to keep the nut secured, because the knot the motor came with tends to loosen with the vibration cause by the torque.
TFT Color 750 Display Programming
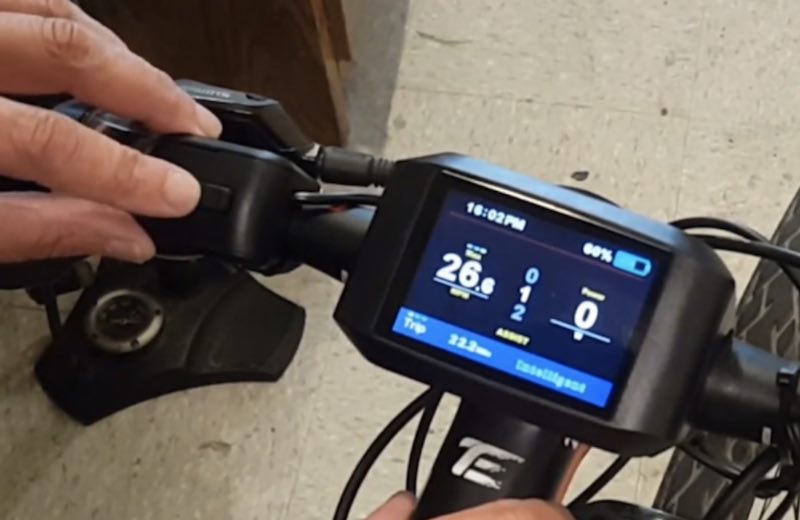
Course through the maximum and average speed, miles per hour and wattages on the right-hand side, and pedal assist.
You may navigate the menu by double-clicking the menu button to get to the main basic settings.
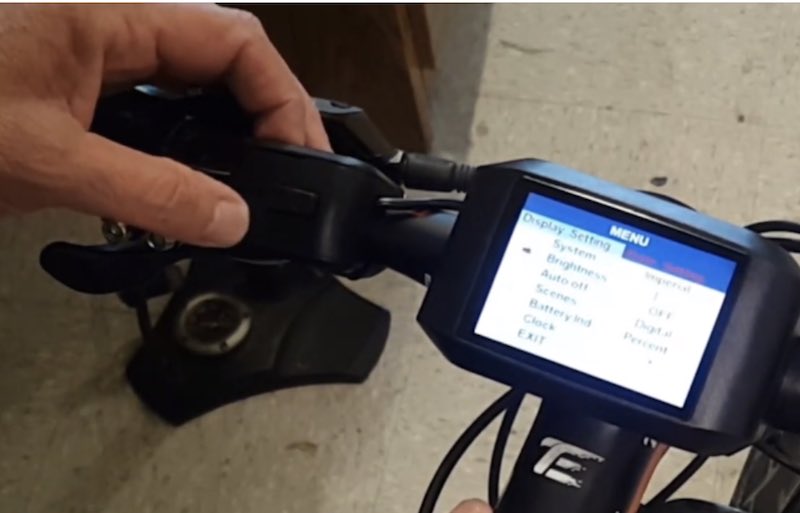
In the display setting you may access System, Brightness, Scenes, Battery Indicator (Percentage or Voltage), Clock.
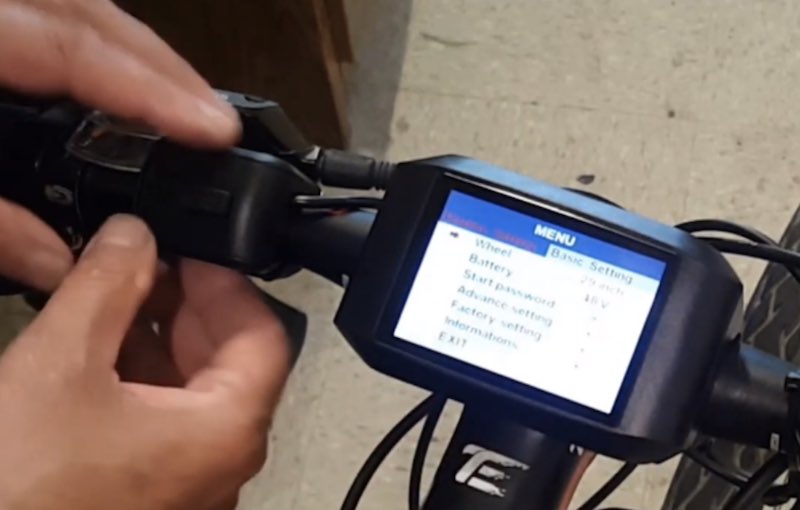
Under Basic Setting, you may access the settings for the wheel, battery, password, advance setting, factory setting, and information.
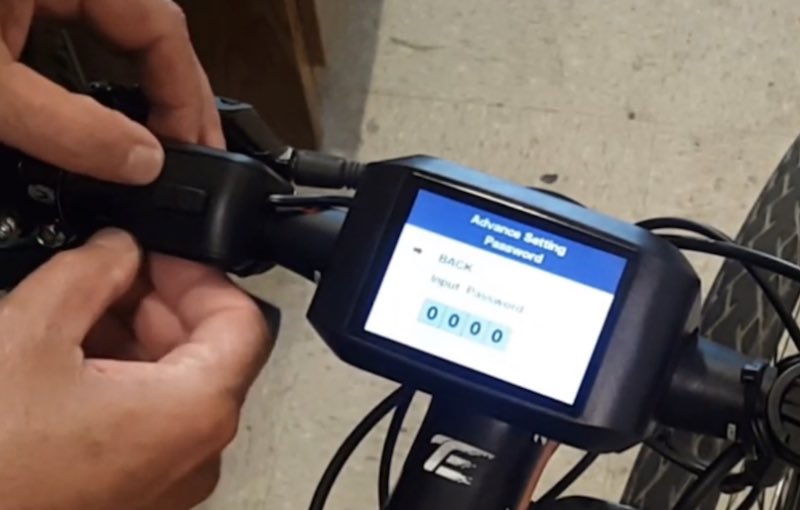
To get into the Advance Setting, a password must be punched in. For this specific manufacturer the default password is 1919 or you may have it changed as well.
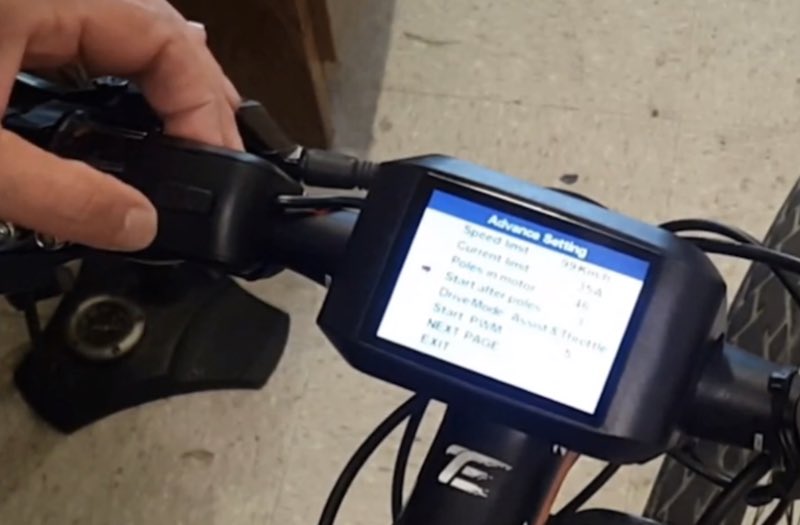
Within the Advance setting you may change the Speed limit, Current limit, Poles in motor, start after poles, Drive mode assist, Start PWM (throttle level).
To go back to the main display, simply press the menu button.
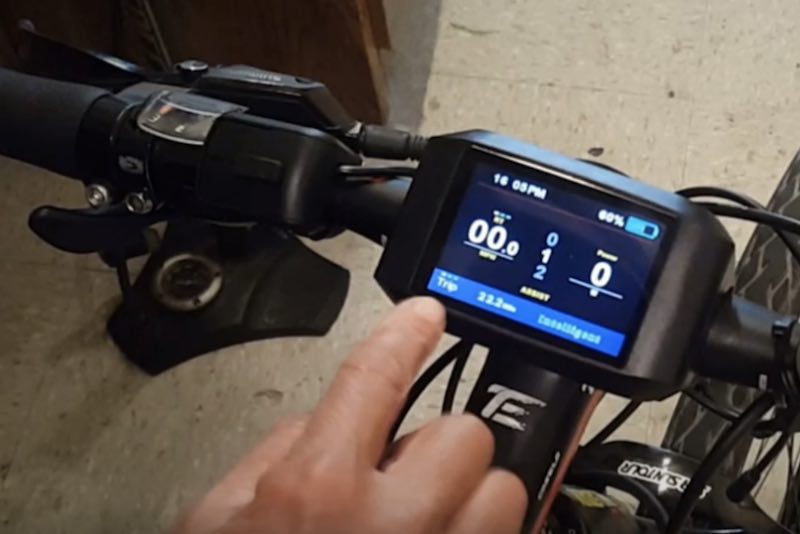
A remarkable feature of the TFT 750 LCD is that all data from the previous trip is kept saved even after the LCD is powered off.
For only $1,000, you now have an ebike that goes fast if not faster than a $7,000 brand ebike. It is surprising how effective a DIY ebike guide can be, and how the specs of a name-brand ebike can be matched or exceeded with a kit and a few hours in the garage.
Also remember, that with diy projects like this you are not covered with the same warranty as those that are store bought, which is why choosing and assembling the right parts, and connecting the wires must be done with a thorough DIY ebike guide, to assure that a warranty would not be needed since you don’t have one.

The Noble Urban represents more than just a person. It represents a lifestyle. A way of living. A noble life lived in an urban setting.

